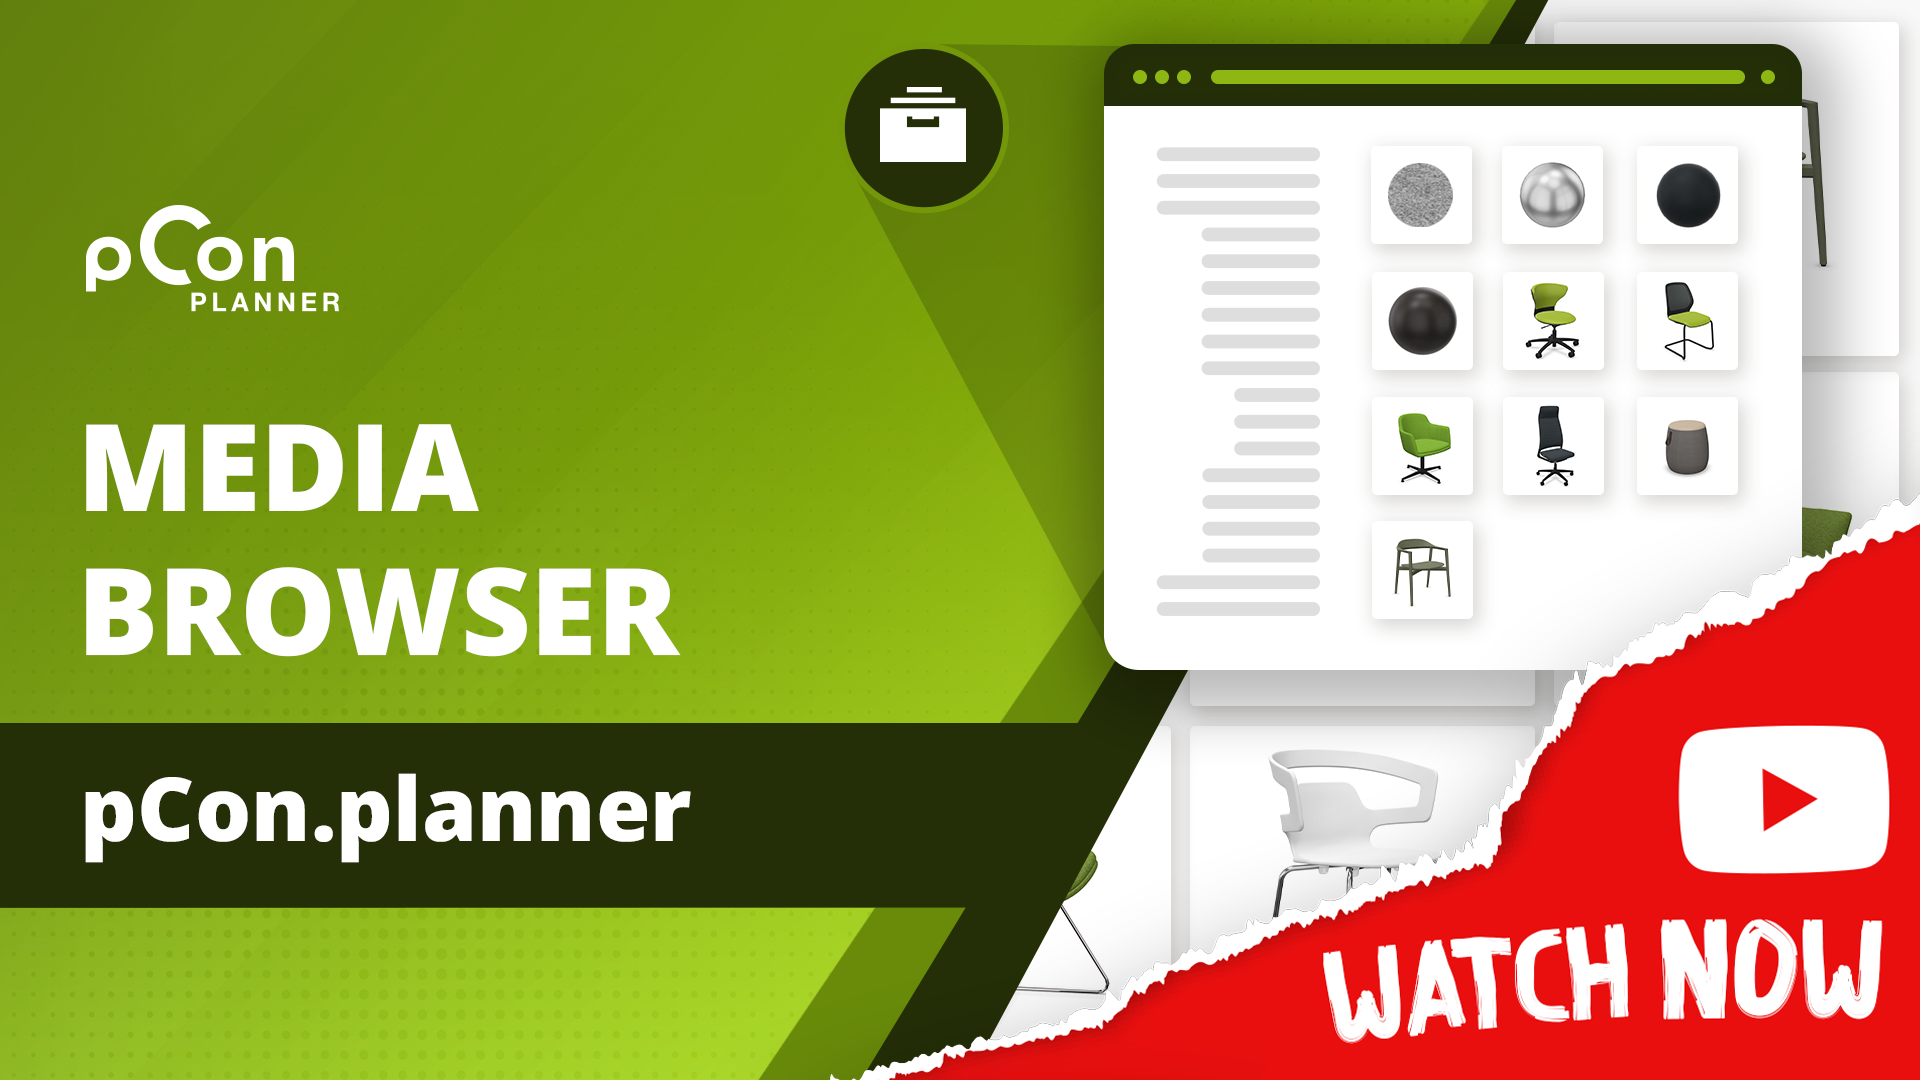
Anyone who regularly works with pCon.planner knows: efficient planning starts with good organization. This is where the Media Browser comes into play – a powerful tool that gives you quick access to frequently used objects, materials, and images. In our new tutorial video, we show you how to make the most of the Media Browser to easily drag and drop planning elements from your personal library into your scene. Click on the image to go directly to the tutorial:
All Your Media in One Place – Always Ready to Use
The Media Browser in pCon.planner ensures that all your essential files are stored in one central location – from 3D models and materials to images. Instead of manually importing files or searching for them, you can insert them directly into your planning with just one click.
Adding Objects and Materials
You can easily store your own 3D objects in the Media Browser: Simply drag objects from your planning directly into the Media Browser. Then, select the desired storage format, such as DWG, and assign a suitable name. You can also save 3D data in other formats to use them externally.
Materials must first be exported as a .matz file from the Material Window and saved in an appropriate location within your directory structure. Once stored, you can access them anytime via the Media Browser and drag them directly into your planning when needed.
Creating Structure – For More Clarity and Efficiency
To quickly find your most important planning elements, it’s best to create a clear folder structure. Categories like “Furniture,” “Decorations,” or “Textures” help you stay organized and easily manage your files. This way, you always have quick access to your essential elements – perfect for efficient work and consistent designs.
With the Media Browser, you not only keep control over your files but also save valuable time with every new project.
Subscribe to our YouTube channel and stay informed about new tutorials on room planning, rendering and visualization! You can also subscribe to our pCon blog (in the footer).

